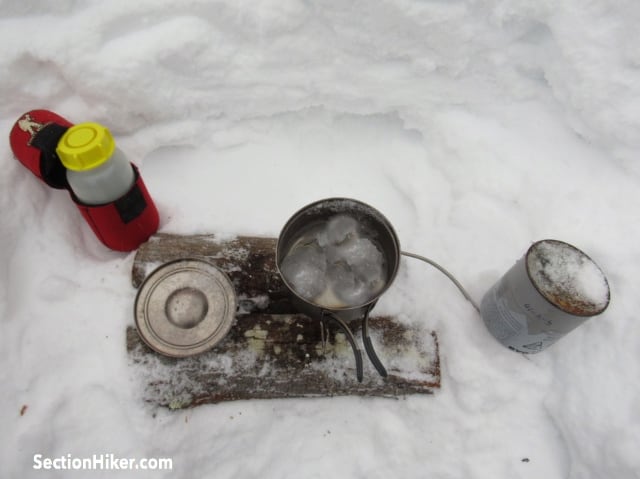
Winter backpacking requires the development of many new skills, particularly in the area of hydration and stove use. Chief amongst these is melting snow for drinking water since most of the streams you encounter will be frozen over and you can’t ingest enough liquid by eating snow. The most reliable method for melting snow and purifying the liquid by-product is to melt it and then boil it in a cooking pot. I usually melt three to five liters at a time so I have enough water for hot drinks, rehydrating dinners, and the two to three liters I like to carry in my pack during the day. It’s important that you still have some water left over in your bottles when you arrive in camp so you can melt snow.
Seed Water
When melting snow, you have to boil water in your pot, called seed water, before you can add snow to it. A cup of water is usually sufficient as a starter. If you add snow to your pot and it doesn’t have liquid in it, you’ll scorch the pot (which smells awful), or burn a hole through the bottom of your pot rendering it useless. The seed water provides a protective barrier between the snow and the pot, much like cooking oil does with a frying pan and food.

Once you get your seed water to boil you can add clean snow to it very slowly, and preferably still in powder form so it melts quickly when it hits the hot water. When you’ve filled your pot half full with melted water, you can start to add bigger clumps. When all that is melted and has come to a roiling boil, it will be safe enough to drink or decant into insulated bottles for later use. Be sure to leave some in the pot as seed water for your next batch of melting.
Cookpot Size
You’re going to want to bring a 2L pot or larger for melting snow, with a wide bottom. Tall, narrow, and low-volume pots don’t work well. It takes longer to melt snow in them and you really have to babysit them while you’re doing it. Anodized aluminum posts are also better than thin titanium pots in terms of heat retention and because they heat more evenly without hot spots.
Having used stove systems like the MSR Reactor, I can’t say I’m a huge fan of their cylindrical-sized pots for snow melting because they have such limited capacity and small diameters. If you do have a Reactor, consider sizing up to their 2.5 Liter Reactor Pot, which is a good size for melting lots of snow.
Snow Melting Stoves
I use two different stoves for melting stoves: a liquid fuel MSR Whisperlite or a Kovea Spider remote inverted canister stove. A liquid fuel (white gas) stove will burn down to 40 below 0 (Fahrenheit) and is good for subzero weather. An inverted canister stove like the Kovea Spider is good down to about 0 degrees (Fahrenheit) because it can burn canister gas in its liquid form. Regular upright canister stoves crap out at about 15 degrees (Fahrenheit) because the gas can’t vaporize.
SectionHiker is reader-supported. We only make money if you purchase a product through our affiliate links. Help us continue to test and write unsponsored and independent gear reviews, beginner FAQs, and free hiking guides. SectionHiker.com Backpacking Gear Reviews and FAQs
Good advice and technique! I did burn a pot once by doing this the wrong way and you’re right, it does smell! It was a favorite Backpacker’s Pantry 2L pot in a nice green color, non-stick before the incident. Lacking “seed” water and needing to work with solid ice sometimes, I had relatively quick results just breaking it up and holding it over the burner, moving it around until it began to melt. I think that was actually easier than snow.
You can also mention to bring a full water bottle into your sleeping bag (in a very reliable bottle) so you can have seed water in the morning.
This is good information that I would like to add to, I learned it from the hammock forum and have tried it with success. I used a 1 liter nalgene bottle and filled it with nearly boiling water before turning in and put that in a wool sock and put that in the foot area of my quilt and it was still quite warm come morning.
Nice article. I am a big fan of inverted canister (I have the Optimus Vega). This is far more reliable than a gas stove.
I believe the Whisperlite now comes with an inverted cannister connection adapter.
There are 3 models. The whisperlite classic, the whisperlite universal (which is a dual fuel/inverted canister ready stove) and the Whisperlite international which burns serval forms of gasoline.
Philips. Yes, I just looked at mine and it’s the universal. I just haven’t used to the inverted cannister configuration – yet..