Mt Liberty and Mt Flume are two 4000 footers in the Franconia Notch region of the White Mountains that are usually climbed together because they’re 1.2 miles apart along the same connecting ridge. Hiking them together is so common that people often refer to the hike as climbing “Fliberty“.
The most easiest way to climb Liberty and Flume is hike to up the Liberty Spring Trail from the Franconia State Park Bike Path. While steep, this is a moderate hike that intermediate hikers can easily complete. Once up Liberty, hikers continue south along the Franconia Ridge Trail to the summit of Flume, reverse direction, resummit Liberty, and then hike back down the Liberty Spring Trail to Franconia Notch.
An alternative but strenuous route is to climb the Flume Slide Trail first, then hike north to Mt Liberty, and down the Liberty Spring Trail. As the name implies, a Slide is an avalanche path or land-slide. These trails (others in the White Mountains include the North Tripyramid Slide Trail, the Owlshead Slide Path, the Mt Washington Headwall, etc.) are generally quite steep and treacherous with loose rock that can shift under you as you climb.

The Flume Slide Trail is particularly dangerous because the trail climbs up steep rock faces that are wet and have small streams running down them. Great care should be taken when hiking up this trail, especially if accompanied by children or a dog. The climbing is really quite strenuous and you need to grasp onto adjacent trees and roots to pull yourself up over the worst sections.
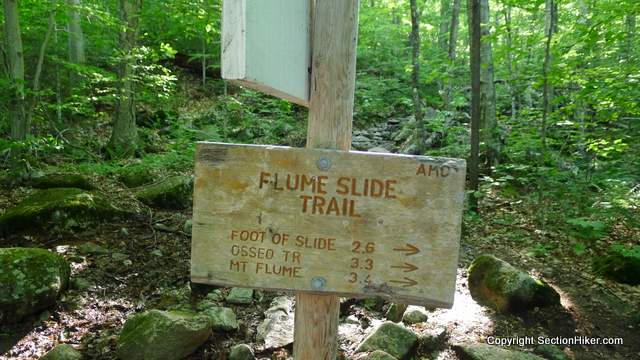
The Flume Slide Trail is so treacherous that you should only climb it going uphill. Climbing down this trail is strongly discouraged. Either hike north to the Liberty Spring Trail and descend to Franconia Notch, or hike down the Osseo Trail from the summit of Flume to the Lincoln Woods trailhead.
What many people don’t realize, is that the Flume Slide is a gorgeous trail well worth hiking even if you don’t climb up the wet slabs to the summit. After branching off from the Liberty Spring Trail, the Flume Slide Trail continues 2.6 miles to the base of the slide passing several streams through fairly open woods.
There are wonderful dispersed camping opportunities along this stretch, as long as you camp 200 feet from the trail in order to leave no trace. Dispersed camping opportunities soon dry up as you get closer to the beginning of the slide because the slope gradient is too steep to pitch a tent on, but lower down, there are ample opportunities available by hiking down the old logging roads (now grown-in, but still detectable) that crisscross the trail.
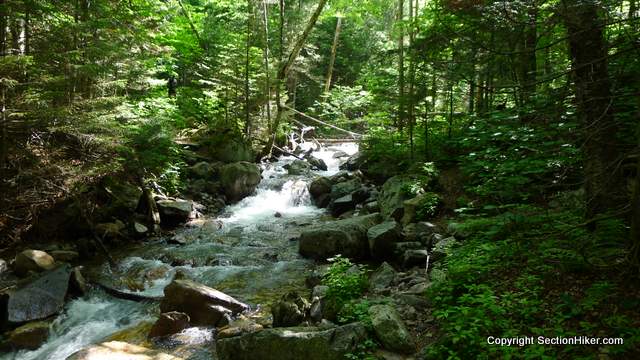
While the beginning of the Flume Slide Trail is fairly easy walking, at least by White Mountain standards, you’ll know you’re getting closer to the slide when the trail gets rockier.

And rockier…until you can begin to see water running down the trail over the rocks ahead of you.

Soon after, the slope gradient moves from horizontal to vertical requiring full on rock climbing skills to climb the wet slabs.


For good or ill, hikers have created side trails that run up through the woods on either side of the dangerous slabs. An eyesore and source of trail erosion, they provide a strenuous bail out route if you can’t hack climbing the slides without them.

Surprisingly, you don’t actually summit the mountain after you clear the wet slabs. There’s still about 500 feet of rough trail above them which continues until you reach the intersection of the Osseo Trail and the Franconia Ridge Trail.

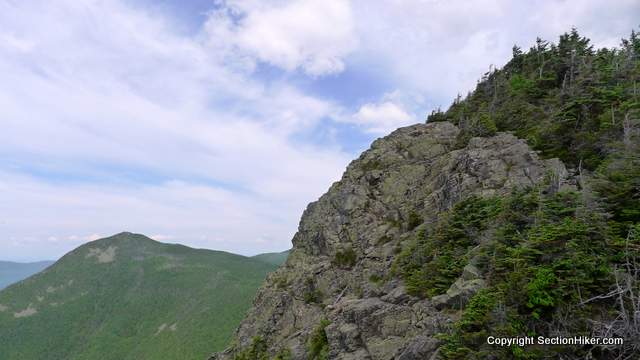
To summit Flume, turn left (north) and hike a short distance to the open exposed summit with its distinctive avalanche scars. The top of the mountain is bare rock and provides a good place to rest, before proceeding to Mt Liberty.

To reach Mt Liberty, continue hiking north on the Franconia Ridge Trial. Initially, the trail descends from the Flume summit to a low point between the two peaks, called a “col“. From there, the trail climbs gradually over a rock strewn trail through dense forest until you reach the final scramble to the open summit of Mt Liberty.
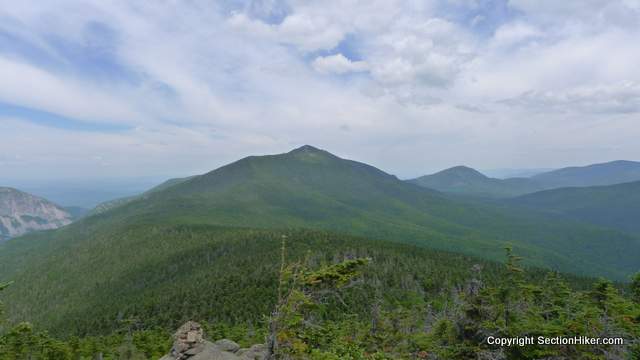
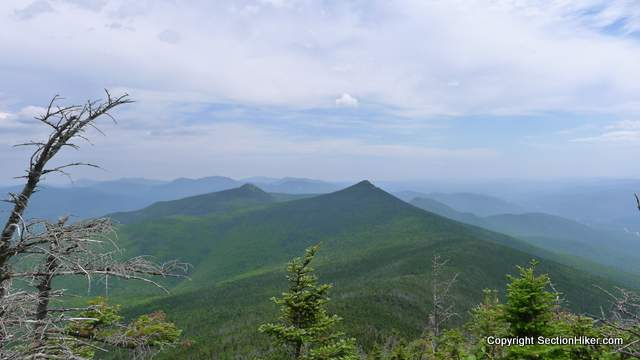
The views from the top of Liberty are excellent, with a clear view of North and South Kinsman and Mt Cannon’s sheer east cliff, Owlshead Mountain and the peaks of the Pemigewasset Wilderness to the west, and Little Haystack mountain to the north.
To descend Mt Liberty, continue north a short distance to the intersection with the Liberty Spring Trail (turn left). Water is available 0.3 tenths of a mile below the trail junction from a natural spring located at the Liberty Spring Tentsite. A water filter or purification method is recommended.
Of course, you can also climb Flume or Liberty individually and still have a great outing with a little less effort.
Last updated September 2022.
 SectionHiker.com Backpacking Gear Reviews and FAQs
A favorite route, as I love side climbs. It’s really not as tough as a lot of people make it out to be. Just take your time going up and you’ll be fine, there are plenty of handholds and footholds. Also, in reference to “Mt. Washington Headwall”, there is no such feature. There are the headwalls of the major ravines on the mountain such as Tuckerman and Huntington, but those are glacial cirques, not slides.
I climbed an avalanche slide up mt Washington last July which is commonly referred to as the head wall, even though its not technically a head wall. It starts just past Spaulding pond. The interesting thing about the Flume slide is that there are much harder slide routes to the summit, off trail. The slides you see from a distance are not the one you hike and climb up.
But those can be climbed too, and are on my bucket list someday. :)
How about Lincoln’s throat?
Mainly an ice climbing route as I understand it.
Interesting write up. I’ve done Liberty and the Flume, but never through the slide trail.
It’s certainly intriguing. I really enjoy a good rock scramble, but sometimes I stop and think about where I am and what I’m doing and start picturing myself on the evening news. Whats nice about this route is, I wouldn’t have to go down the slide, which I find far more treacherous than going up.
It’s worth a try. It took me a little longer to get up it than expected though. The bottom of the trail is really nice too, even before the slide.
I did this “trail” way back in 1996. This would not be a trail in Colorado; we would call it class 3 scrambling :)
I think this would qualify as Class 4 actually. Parts of the trail are vertical and I was definitely using whole body rock climbing moves to climb the slide.
It has to do with exposure and not moves. I do not recall exposure. I would be hesitant to do 4th class solo now…never mind in 1996! Maybe it is graded on a curve??? :)
OTOH I was in 20s and did not know any better too! Ha!
This brings back memories, as my Husband thought we should do Liberty and Flume on vacation. I had only climbed Mt. Hale and Cannon. We did the loop, but it downpoured while we were on the upper slide area. Very scary. We completed the hike, I could hardly walk for 3 days. I have since climbed 21 4K’s, and will vacation in Lincoln again in August – can’t wait !
It makes a great low angle ice climb route in fall/winter too, although my strap-on crampons weren’t quite cutting it. An ice axe would have been very helpful too!
as a 68 year old hiker with 5 4000 ftrs my dog and i headed for Mt llberty up the liberty spring -but is was 70 and very hot climb we turned around realizing liberty would be there this weekend and Ozzie my four footed pal and i are going back this weekend to complete
Mr. Werner. How far would you say the good camping is on the Flume Slide Trail?
Er, get a map. It’s not far to the “headwall”
Climbed this twice, both on very rainy days. The first time it was terrifying and I had to grab onto a lot of trees (sorry, trees!)
The second time, I had more rock climbing experience and had brought a cheapo pair of aqua shoes with me and wore those for the steep bit. It was challenging class 3 scrambling but the exposure wasn’t too bad. (The aqua shoes were also handy for fording streams that were too high to cross by rock-hopping.)
I did this in October of ’87 or 88′ with a guy I only knew in high school a little, but had not seen since ’82.l, until he stepped into the bike shop I managed.
We planned for three nights, and this was the first climb. We had full packs, and back then I would over-pack. I must have been carrying 60+ lbs. on a Cannondale external frame pack (still have it) that prevented my head from turning upward.
The whole trip, which was curtailed to one overnight (he quit because of blisters) was bizarre. I was bitten twice by an animal thru the tent, my bag and my mittens, first, then my tent and two hars later. We got caught in a heavy snow storm the second morning on Liberty.. His Coleman stove flared up. Etc., etc.
Anyway, it had lightly snowed the night before our climb, so there were bits of snow and ice on the handholds.
Let me say, this was the most terrifying hike I’ve ever done. Too much weight. Too much restriction of movement. At one point, I was spread-eagle on the toughest part, with about a 100′ potential fall when I got a groin cramp. Oh well, nothing I could do. Just moved on.
Finally, we reached the top with dusk approaching when we encountered a very green couple (no water, no packs, just the tee shirts, shorts, socks and sneakers… and no flashlights!) just starting to descend the trail, their first time. We told them to turn around, that it would be suicidal to descend this trail in the dark, let alone in daylight, with that snow and ice. They went anyway. I always wondered…
Anyway, thrilled I did it. With all my injuries today, not likely to do again.
Did I mention I am afraid of heights?
It bit through my hats, not my hars. :) Bitten thru the hars? That would have really hurt!
Most people drag themselves up using the trees along the side of the trail.
This hike is not really a hike. It is most definitely a climb. If you are traveling for a few days with full packs- you had better be very familiar with the way the pack changes your balance as you climb the rock faces and the wet, decaying ladders. Your “trail legs” are useless and the rock faces are quite wet and the scrambles are more wedging yourself between the corners of the rock and sliding up or groping for broken trees. In talking to the through-hikers… they already thought the AT was pretty tough in this corridor- but the flume side ascent is more technical and exhausting than necessary for a fun backcountry weekend. If you bring inexperienced hikers- be ready to get an earful… they will be seriously put out that you brought them so treacherously close to a broken leg or a head injury(or they’ll be moaning from the bottom of the ravine). I mean- all they wanted to do is keep you company on a hike and do a little camping in the woods. (My son and I though- thought it was pretty awesome- especially when it started hailing.)
Just did this trail today, and by far one of my favorite hikes ever. I should say I’m not that seasoned of a hiker, though.. it was a fairly dry day, cool breeze, sunny, so perfect weather. Going up the Flume Slide definitely felt like I was bouldering or rock climbing outdoors, but there is some trail-like ground to the left of the rock face, if you prefer. I enjoyed the technicality of the Flume Slide and how it felt like you were solving a puzzle. I also tried not to think that I could die until I got past the rock face. Would highly recommend especially if you are traveling on the lighter side (just a backpack with a day’s worth of provisions), you work up quite a good sweat climbing up the Flume Slide. Also, the Liberty Spring has delicious spring water dripping from the watershed. I didn’t filter the water, but it’s probably as fresh as can be coming straight from the spring.
At 68 was a good work out for me went up the flume slide then over to liberty back down AT with my son and grandson monday the 10th great views
Hi Phillip, are there opportunities to fill up with water anywhere? I’m planning to do the up Flume down Liberty and wonder how much water I need to carry with me from the bottom
The blue lines shown on the map that you plan to carry are water. There’s water at the Liberty Springs Campsite too.